Drumsticks

Drumsticks

Chicken drumsticks can seem like a daunting task to begin with. “How do you cook these?” “Do you put these on the grill?” “How can I cook these evenly?” “What even does with drumsticks?” All of these thoughts can definitely go through your head when your significant other or friends are craving drumsticks. Don’t worry though, I’ve got your back! Head to your local grocery store and grab a pack of drumsticks.. this is going to be much easier than you think!

THE PREP:

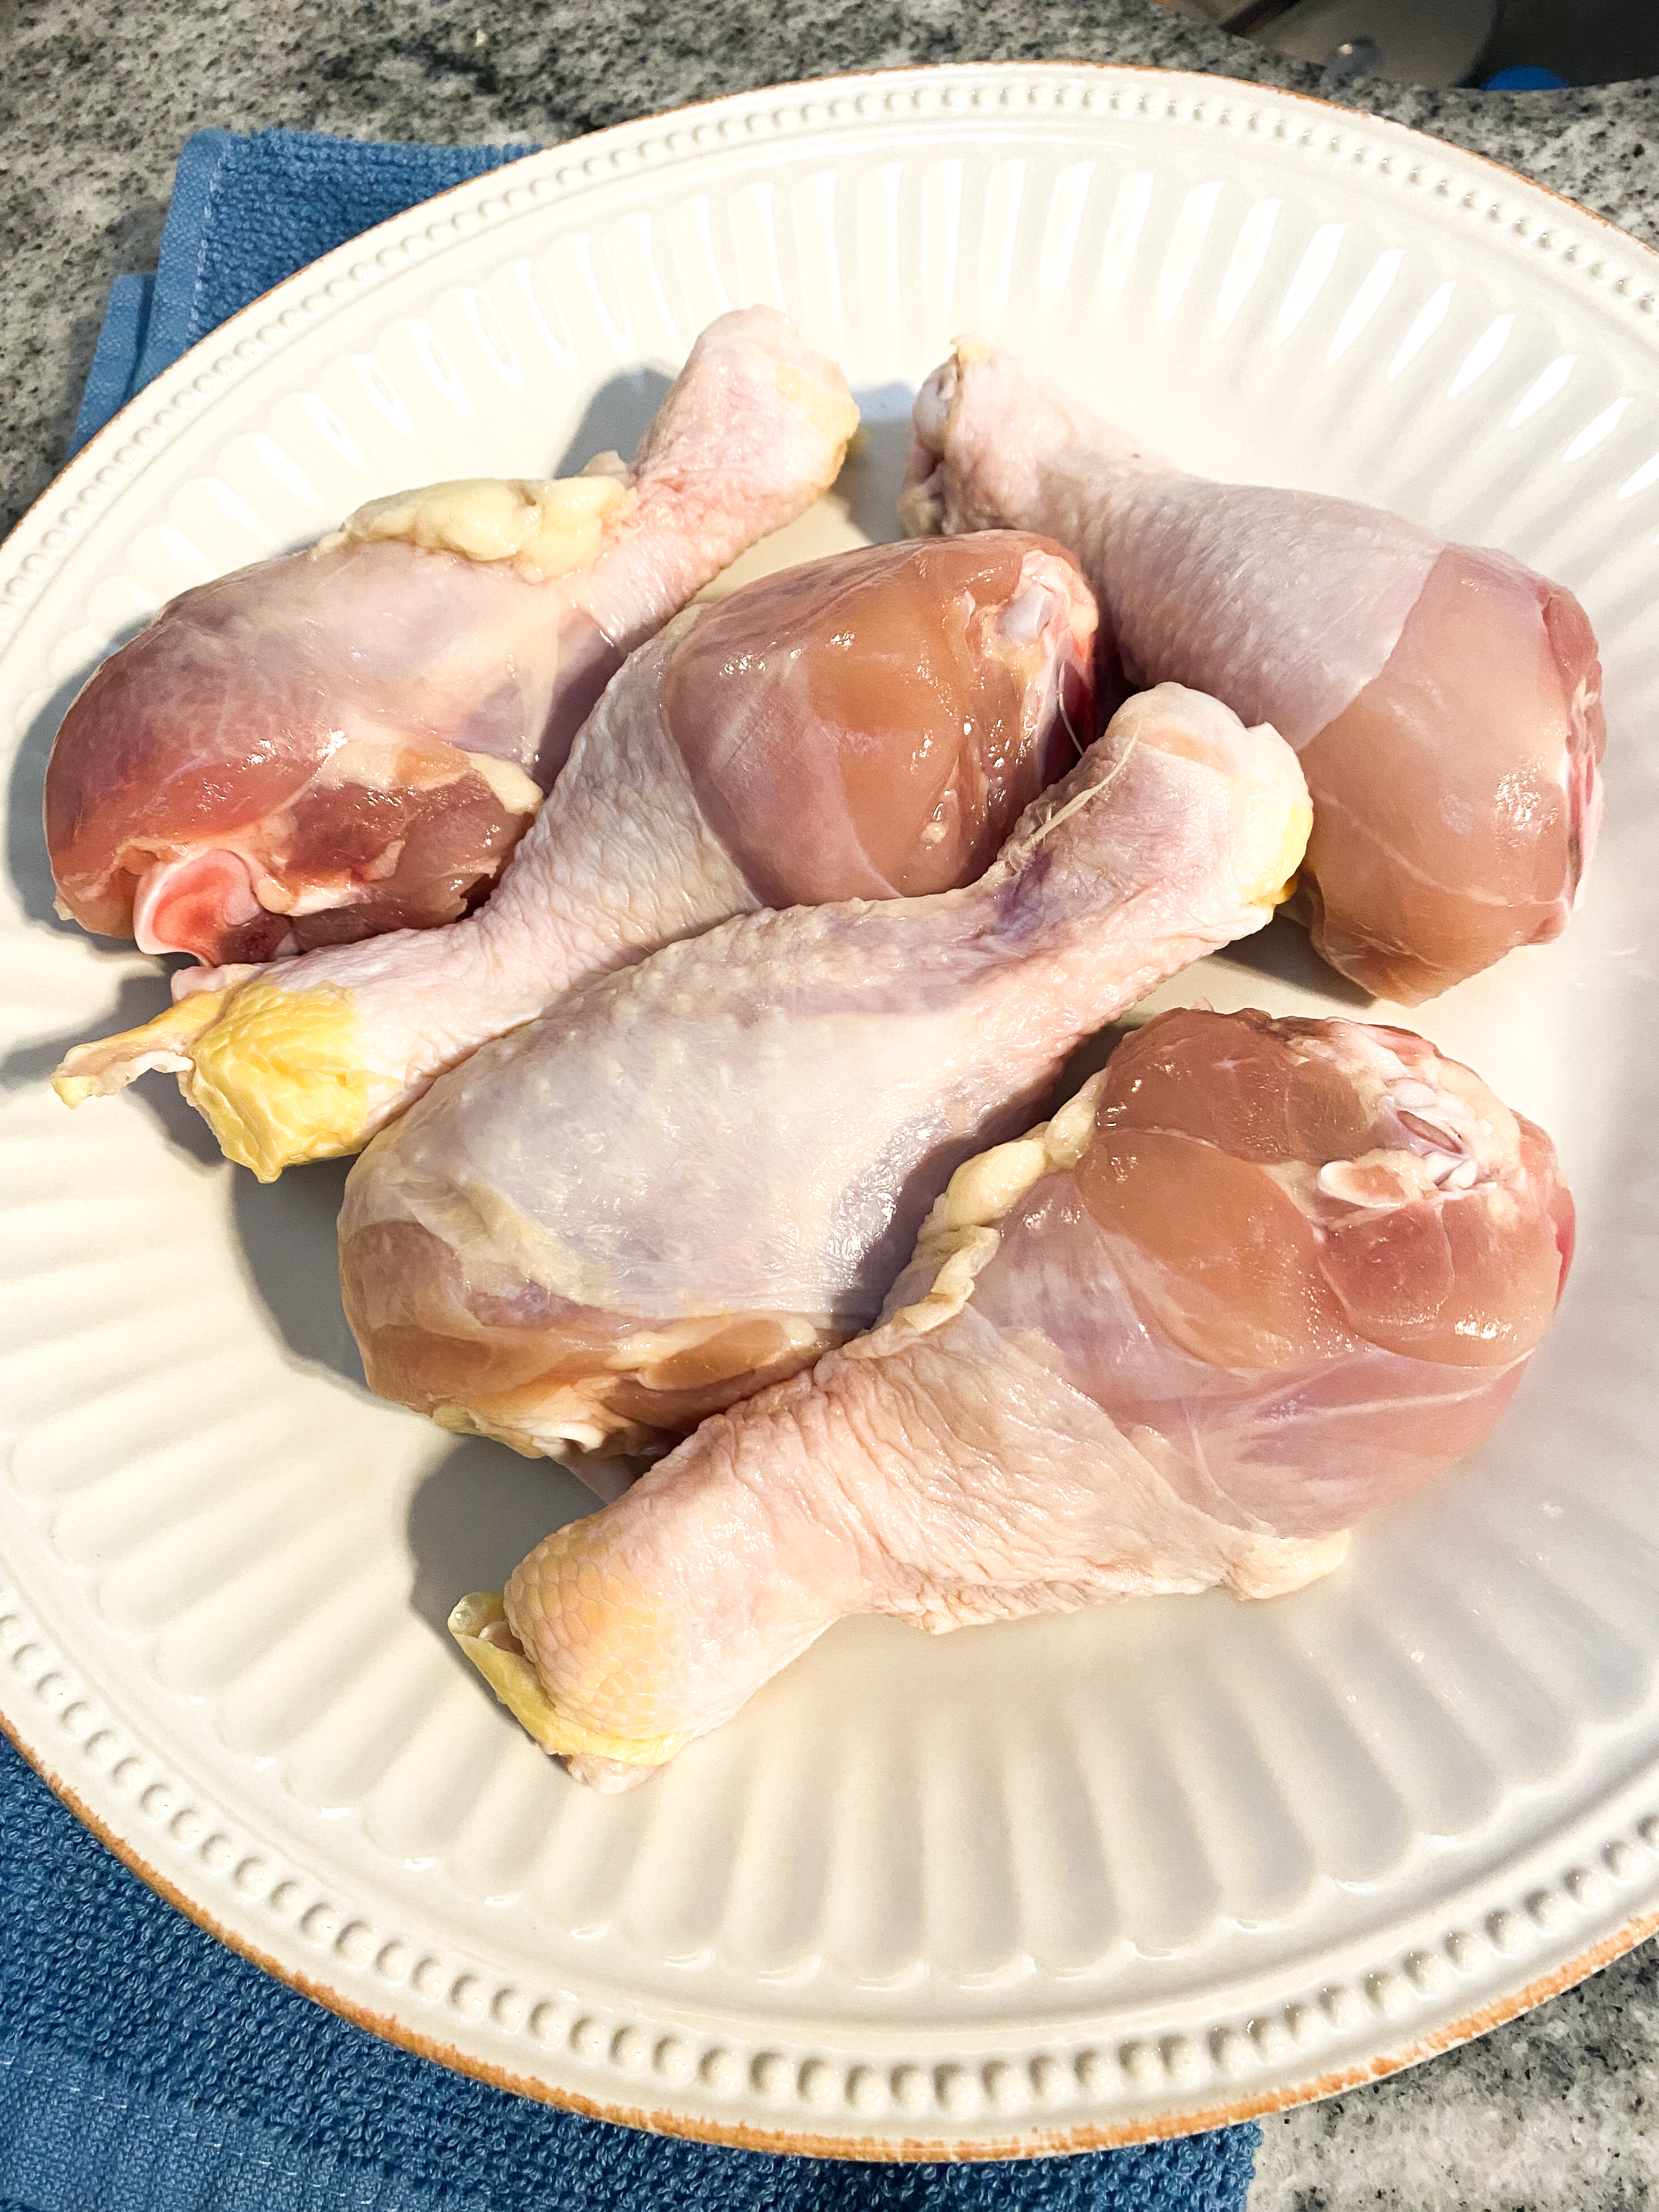
For our cook, I used chicken drumsticks from our monthly Butcher Box. As always when cooking meat, allow the chicken to get as close to room temperature as possible before placing in the oven or on grill. Set the refrigerated chicken on the counter for about 20-30 minutes. 

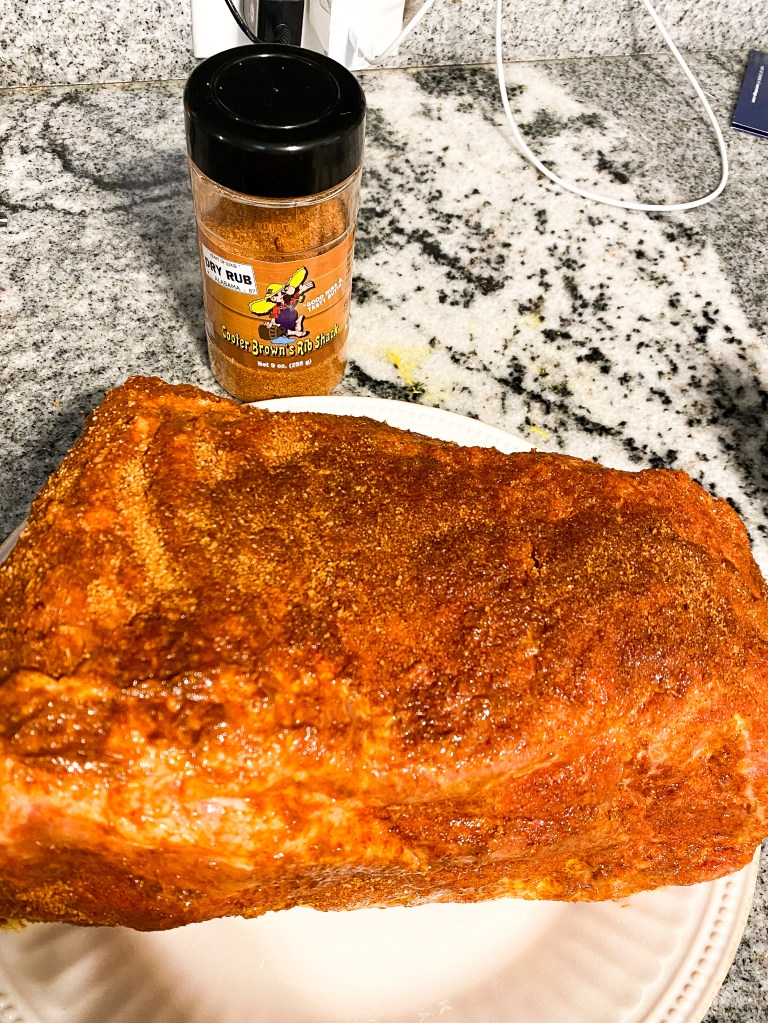
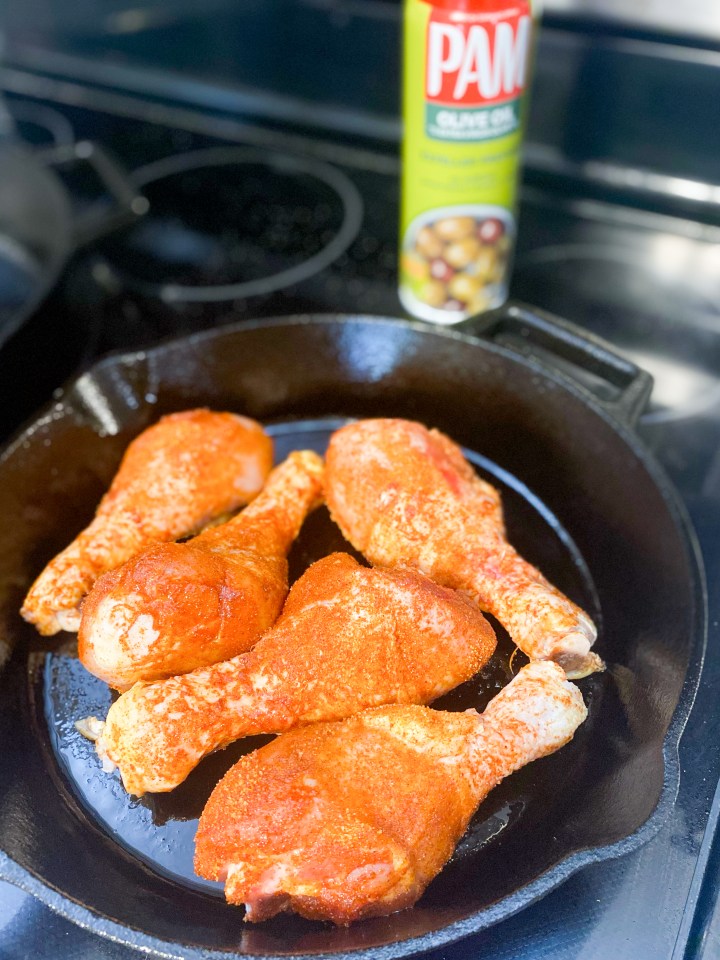
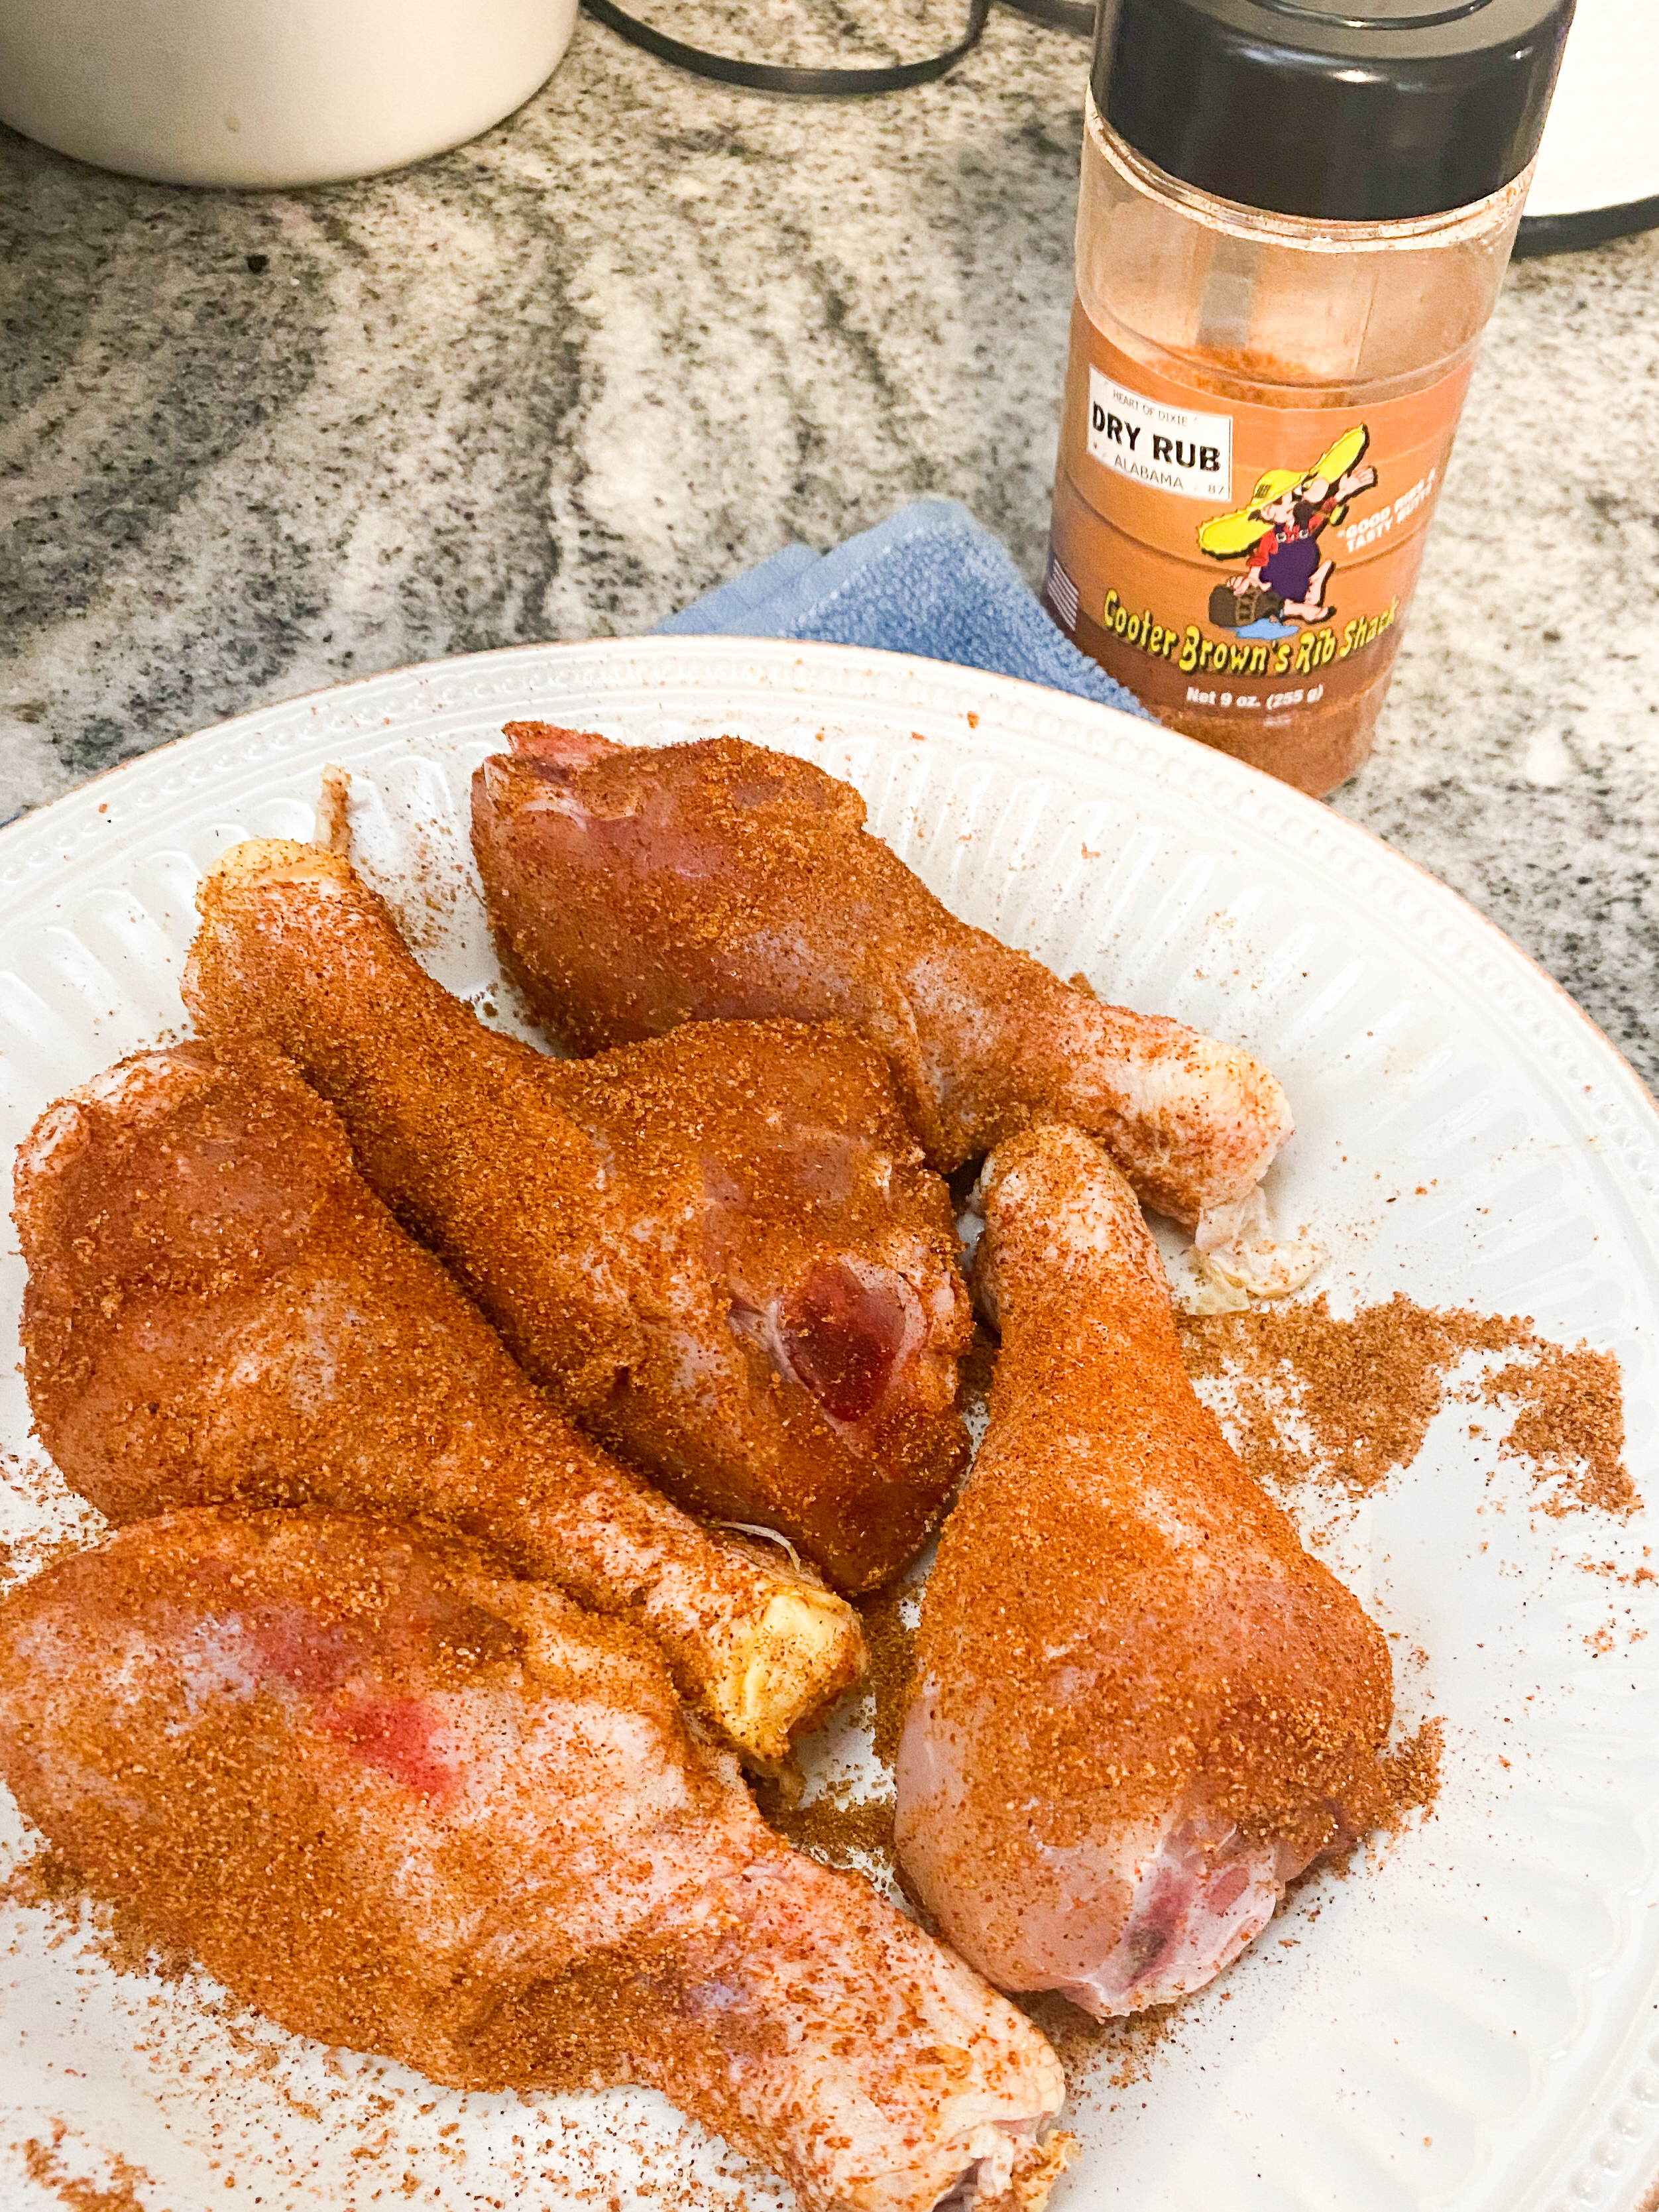
Once the chicken has set at room temp, preheat the oven to 400 degrees Fahrenheit, and place your cast iron skillet in the oven while it is preheating. Next, you’ll want to rinse your drumsticks and pat dry. I’ve found this helps the seasoning to stick to the chicken much easier. For this cook, I used our Cooter Brown’s smoky dry rub. *Be sure when seasoning your chicken that you get all sides. With the round drumsticks, it’s easy to miss a spot.* 

THE COOK:

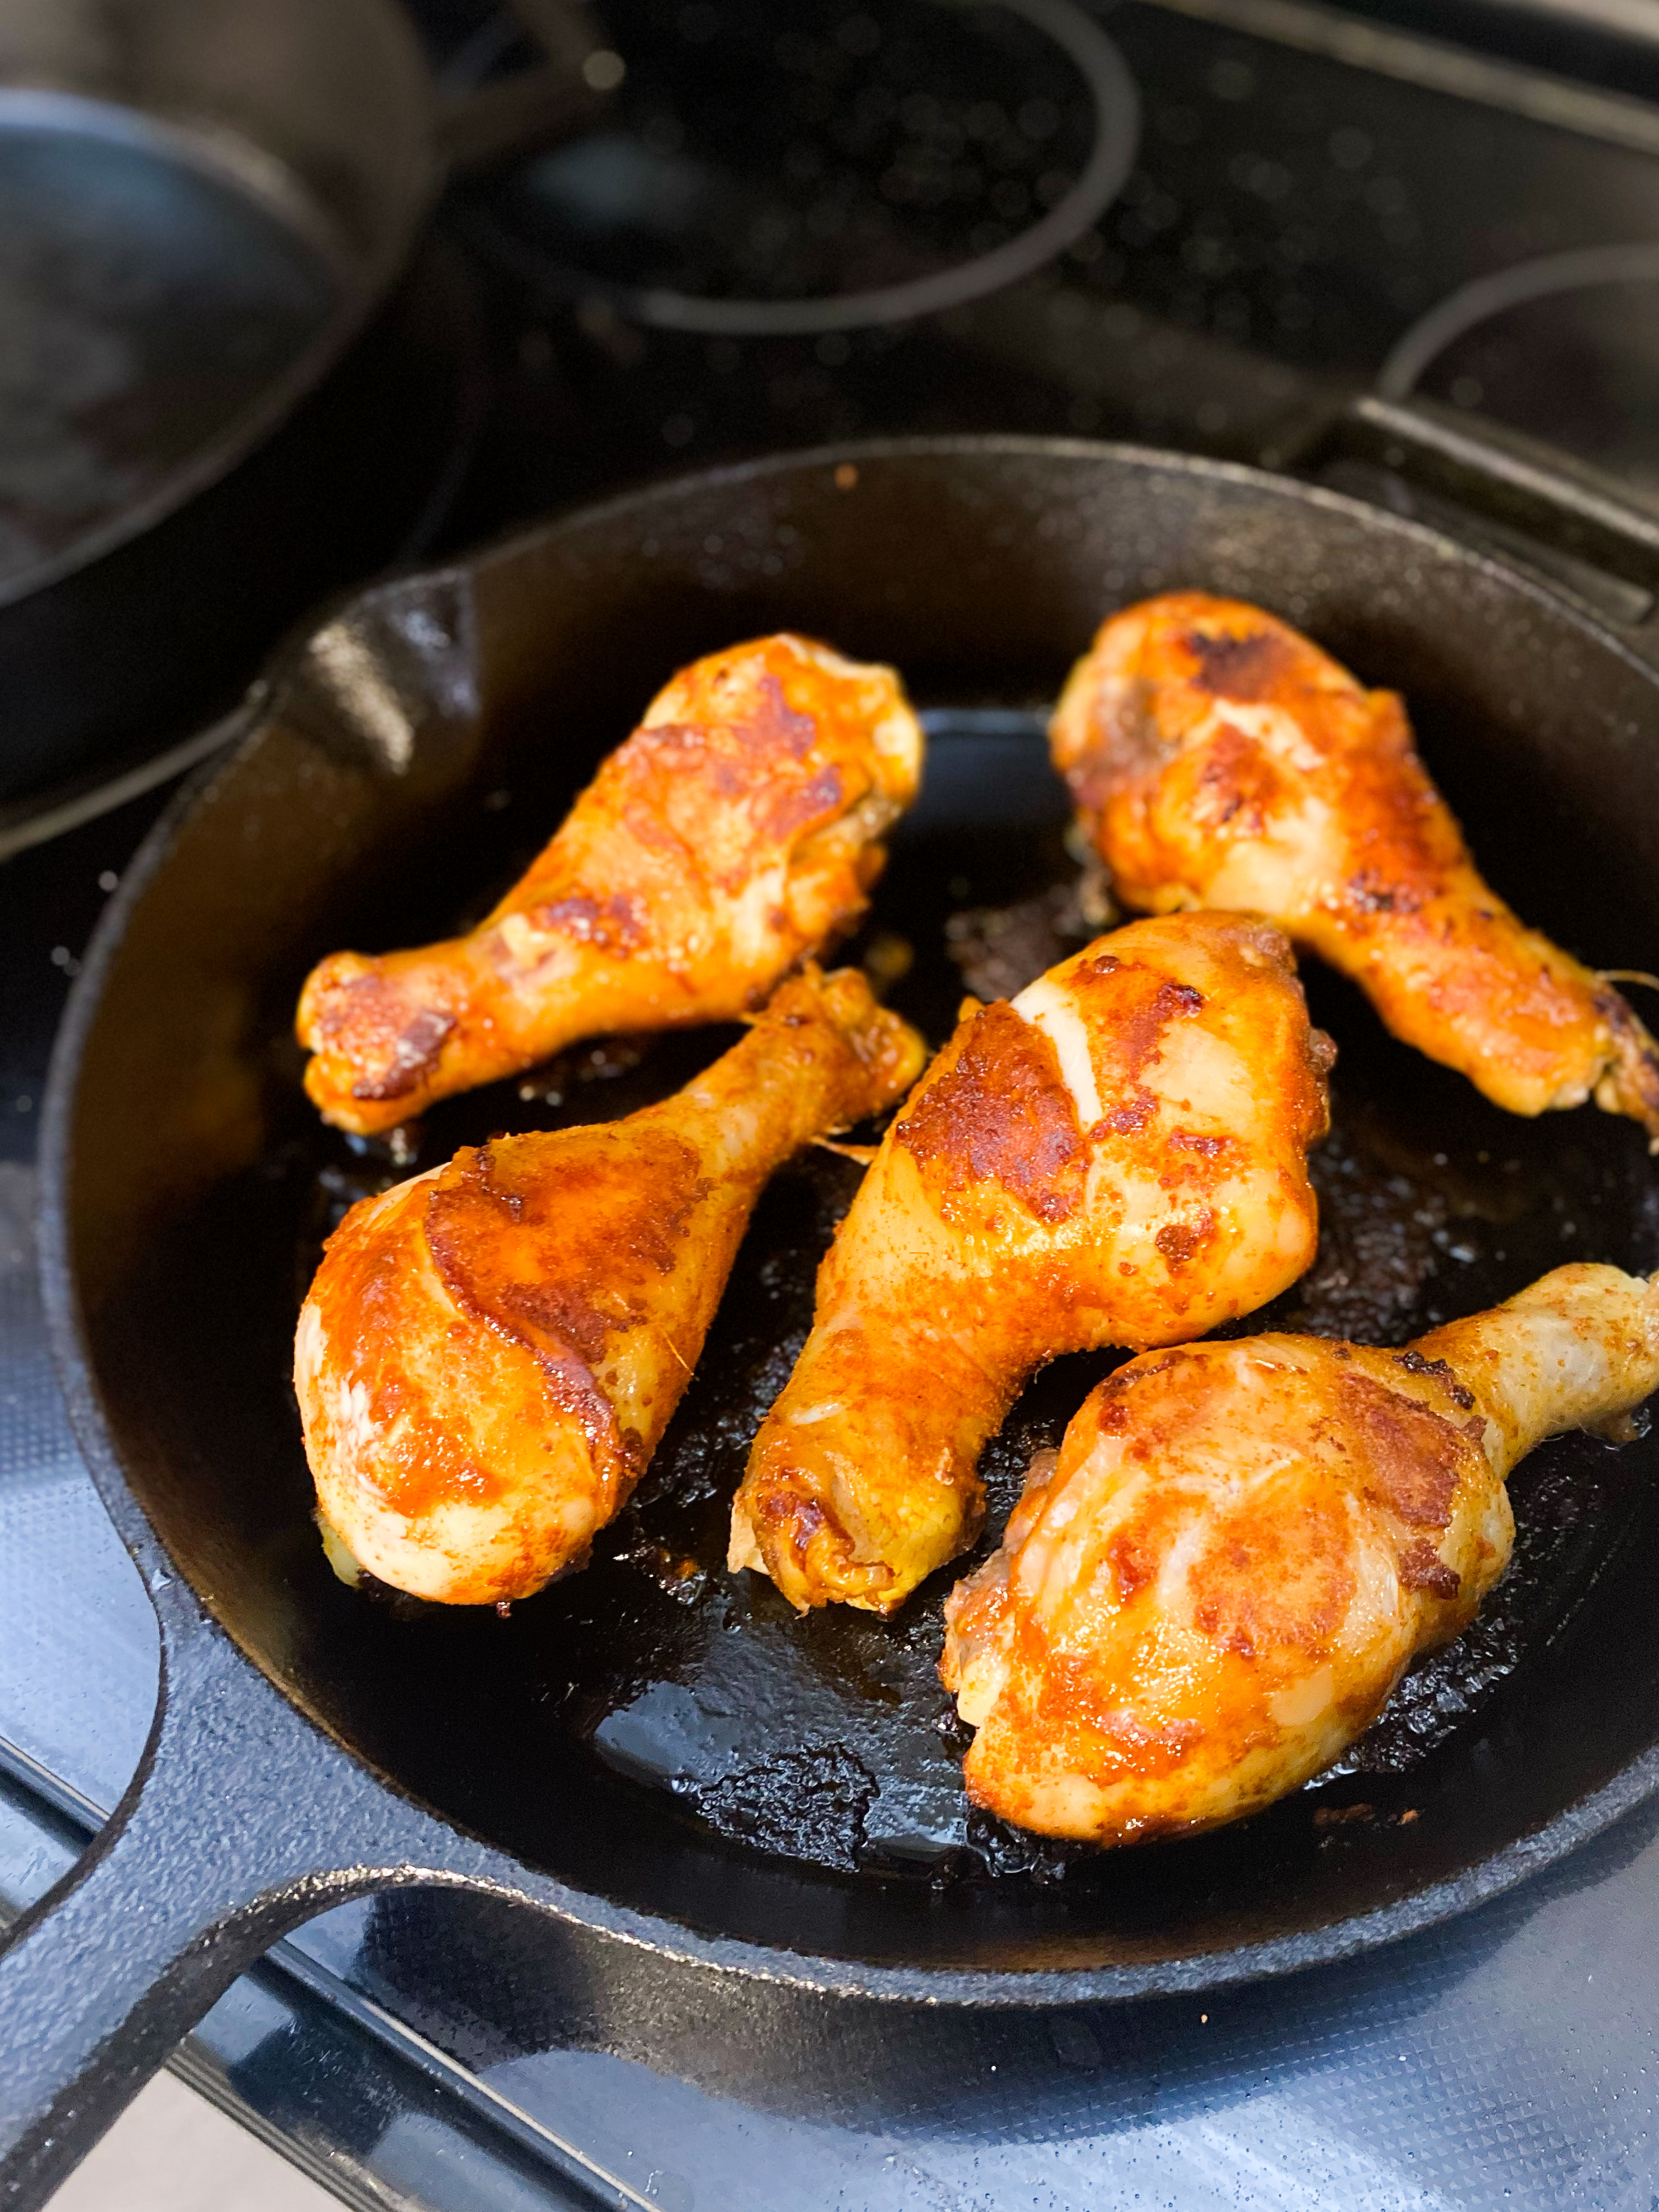
When the oven is preheated, take the cast iron out, spray lightly with olive oil, and place your drumsticks in the skillet. These should sizzle a tad with the hot cast iron, and should make a nice crust on the side. Place the pan in the oven and cook for 45 minutes. 

About halfway through, take the drumsticks out of the oven and rotate each to cook with the other side down and get an even sear.

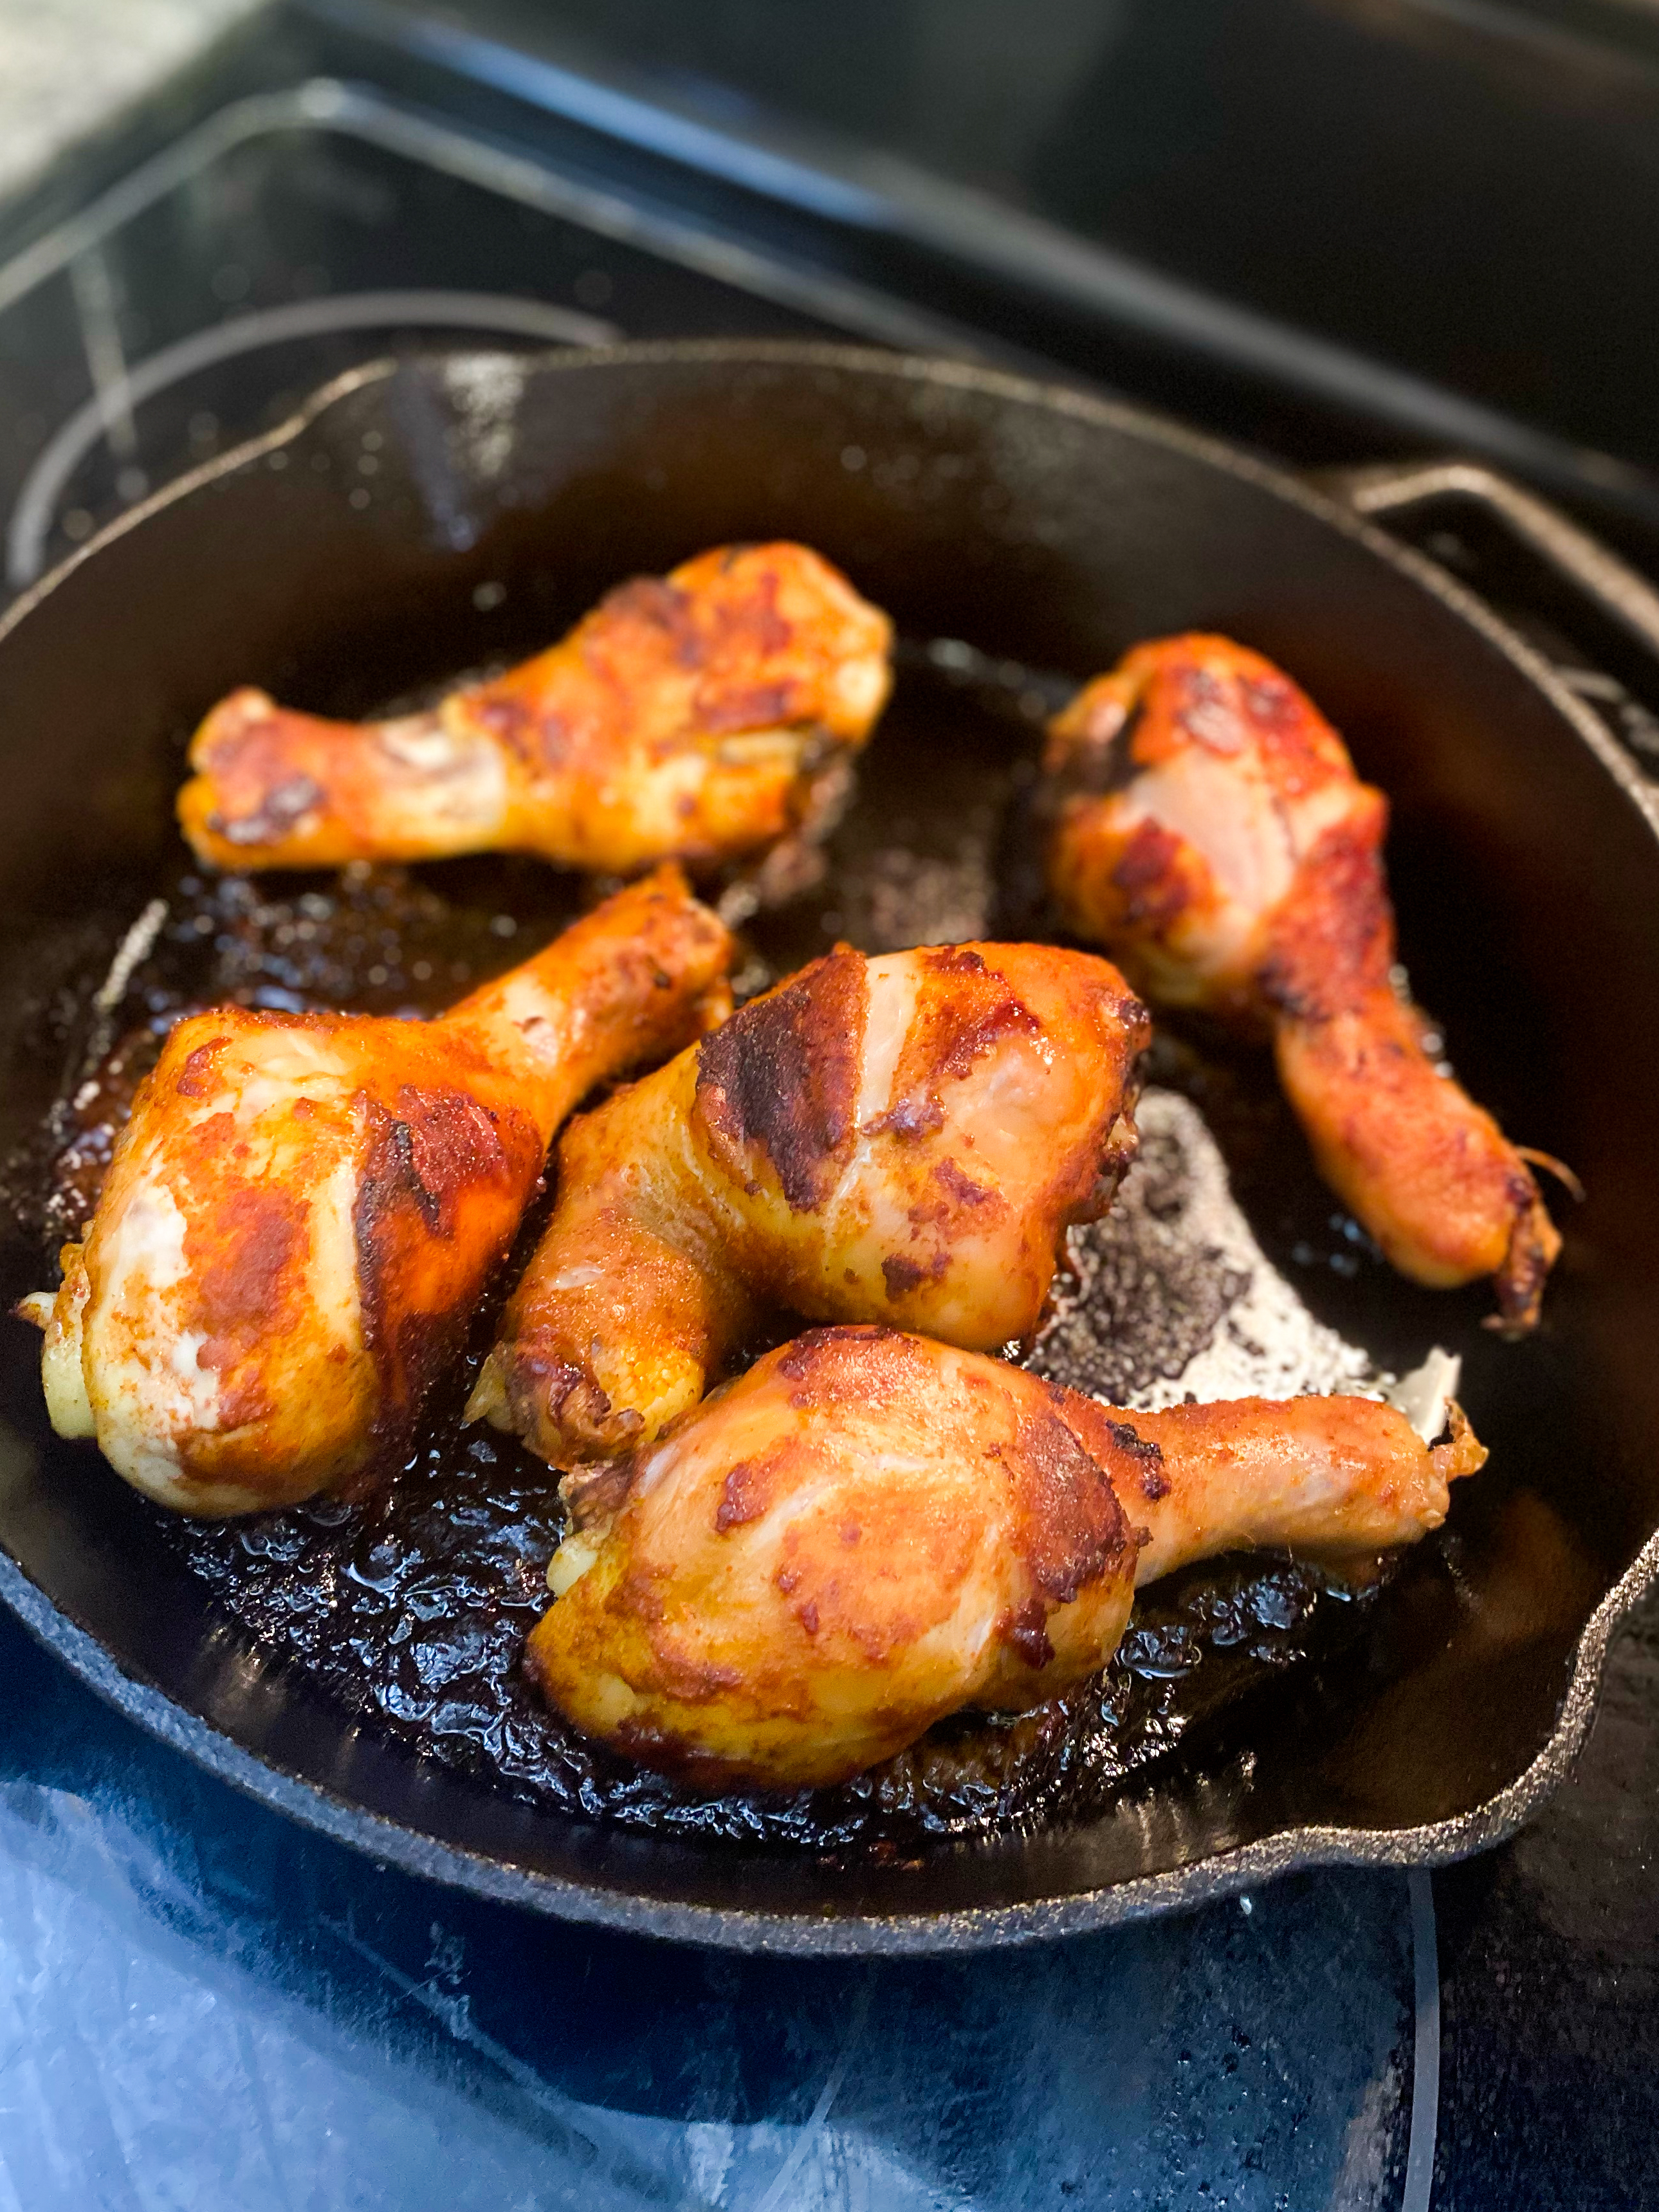
After 45 minutes, you should have a crisp, bronze outside layer to the chicken and will be ready to dive in! PLEASE let them rest for ~15 minutes to ensure all of the juices will stay in the chicken once you cut them. These drumsticks will be crispy on the outside, but moist and juicy on the inside. The perfect combination! Try out this super simple recipe this weekend and ‘WOW’ your friends and family!

SERVING IDEAS:

We served our drumsticks with steamed veggies and sweet potato tots. These would also be perfect with regular tater tots, side salads, baked beans, mac n cheese.. anything you can think of!

INGREDIENTS:

  • Chicken Drumsticks
  • Dry rub and/or seasoning
  • Olive oil spray

Big Ol’ Boston Butt

Big Ol’ Boston Butt

AKA: Pork Shoulder

Sooo you’ve been tasked with cooking the meat for a tailgate Saturday. The request: a pork shoulder. There are many ways to cook this and alllll the things you can do with the meat once it’s complete. Overall, it is always a fan fav! With that being said.. let’s get down to business.

Choosing your meat:

In my experience, it is best to stay with a pork shoulder in the 8lb range. Something 10 lbs or larger typically does not cook evenly and anything smaller just isn’t enough. If frozen, be sure to schedule ample time to allow the pork to thaw in the refrigerator for at least 3 days. 

*Please excuse our dog… he’s a bit mischievous*

Prep work:

The night before the cook, unwrap the meat and prepare your seasonings. This is where you can be creative with how you will enjoy the pork. For this smoke, I used a dry rub from a local BBQ place in Jacksonville, AL. This is a smoky, tangy seasoning that marries well with the pork, in my opinion. Cover the entire pork shoulder with mustard prior to using the rub. Don’t worry, you won’t be able to taste the mustard in the finished product, but it gives the dry rub a nice base to stick to overnight. Once you have covered the meat in mustard and your seasonings of choice stick it back in the fridge until the next morning. 

Preparing the smoker:

Allow your smoker to get to a temperature of 275 degrees Fahrenheit. While the smoker is coming up to temp, take the meat out of the refrigerator to get as close to room temperature as possible. For this smoke, I used a Big Green Egg to cook our meat. I placed an old baking sheet on top of the plate setter and below the grate to catch all of the grease and fat that will bake off. Once you are prepared, place the meat on the grate with the FAT DOWN. 

The cook:

Every hour or so, lightly spray the meat with olive oil to keep the moisture on the pork. The worst thing that can happen is it drying out, leaving the meat tough to chew. Once the internal temperature reaches 160 – 165 degrees Fahrenheit, take the pork off and wrap entirely in foil. At this point, the outside layer is cooked, and essentially needs to bake until the inside reaches your desired internal temperature. Once it is wrapped in foil, place the meat thermometer back in and back onto the grill. 

Your target internal temperature for pulling (AKA pulled pork) is 190-200 degrees Fahrenheit. Once the pork reaches that temperature, remove from the grill and place the pork (still wrapped in foil) on a plate and set aside. Allow the meat to sit for at least 30 minutes. This will help the juices that we worked so hard to preserve set into the meat. Once the time is up (this is the longest 30 minutes ever), you can unwrap and start pulling the meat apart with two forks. It should essentially fall apart very easily. 

Our finished product:

My wife loves BBQ nachos, so we made sheet pan nachos with some of our pork (we’ll post a recipe soon). 

At this point, feel free to add a little BBQ sauce and mix it in. You are now finished smoking a pork shoulder and are the king of the tailgate! 

Ingredients:

  • -8lb Pork Shoulder
  • -Dry Rub Seasoning
  • -Mustard
  • -Foil